User guide v3.x
Scanner Client allows you to capture images from scanners and, optionally, convert them to PDF and upload them to OpenKM, setting the related metadata values.
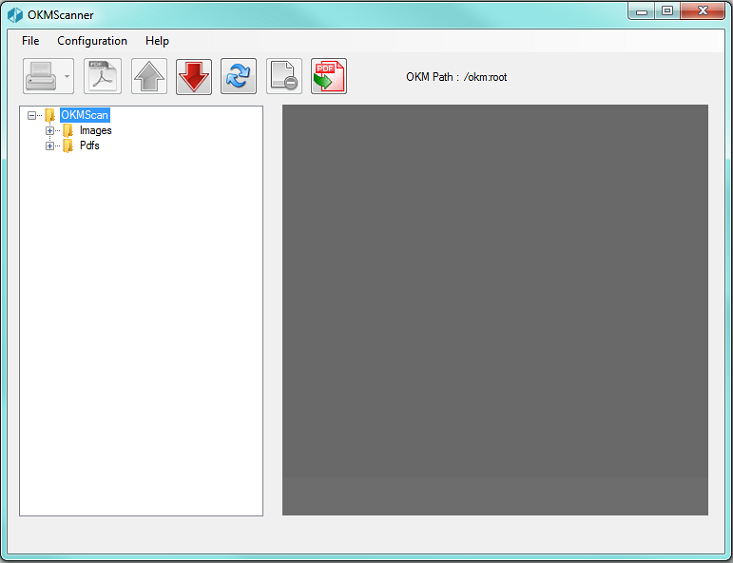
Toolbar buttons
| Button | Action |
|---|---|
 |
Scan action. |
 |
Convert to PDF. |
 |
Refresh tree. |
 |
Upload document. |
 |
Download document. |
 |
Delete page from PDF. |
 |
Add the page to PDF. |
OpenKM Server Configuration
Section titled “OpenKM Server Configuration”The Configuration / Server configuration menu option is used to show the configuration popup.
The available configuration parameters are:
| Property | Type | Description |
|---|---|---|
| Language | Select | User interface language. |
| User | String | User ID for accessing OpenKM. user1 |
| Password | String | The password of the user. pass1 |
| Host | String | OpenKM URL. http://localhost:8080/openkm/ |
| Add metadata | Bool | Add metadata option to enable or disable the metadata selection form. |
Once you have changed any configuration parameters, click the Accept button.
Setting destination folder
Section titled “Setting destination folder”To change the OpenKM destination folder where the document will be uploaded, double-click on the label OKM Path.
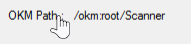
A tree explorer popup will be shown.
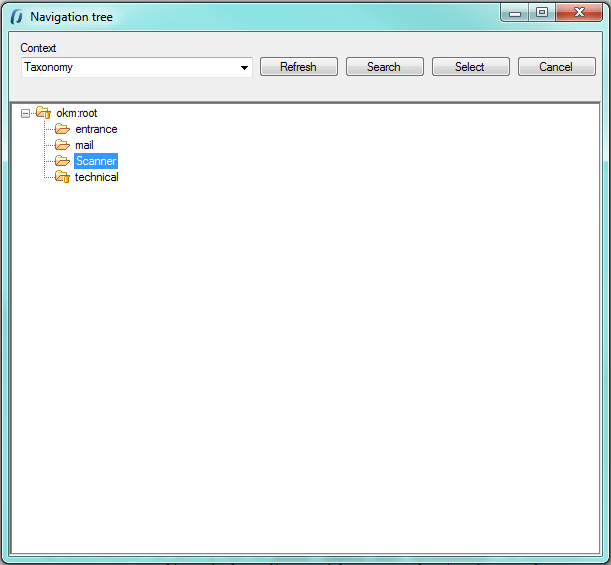
Select the destination folder and finally click the Select button.
Scanner configuration
Section titled “Scanner configuration”The Configuration / Scanner configuration menu option is used to change the scanner configuration.
These are the available configuration parameters:
- Protocol WIA or TWAIN (we suggest TWAIN for better support of scanner features).
- Scanner.
- Origin.
- Color format (Color / Grayscale / Black and White).
- Page size.
- Image type (PNG, BMP, JPEG, TIFF, GIF).
- Scale (1:1, 1:2, 1:4, 1:8).
- Horizontal alignment (Left, Center, Right).
- Brightness and contrast.
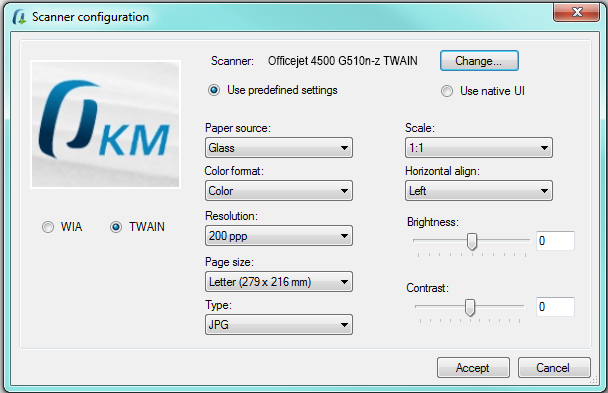
Once any option has been changed, click the Accept button to save it.
Click on the toolbar button . Depending on whether you’ve selected WIA or TWAIN, the next screen will be quite different.
Split button “Scan” has the following options:
- Scan: Scan and convert to images.
- Scan and convert batch to PDF.
- Scan and convert to individual PDFs.
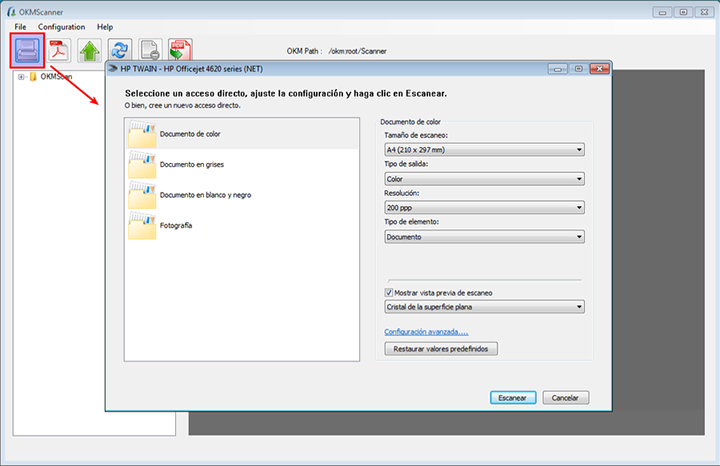
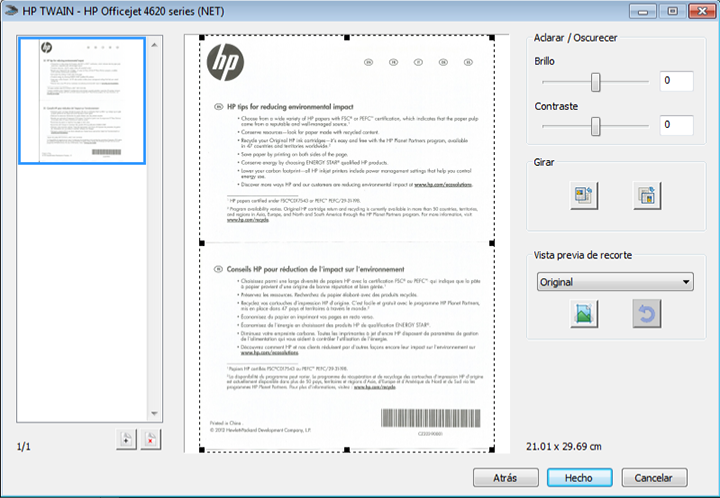
Follow the screen instructions.
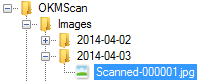
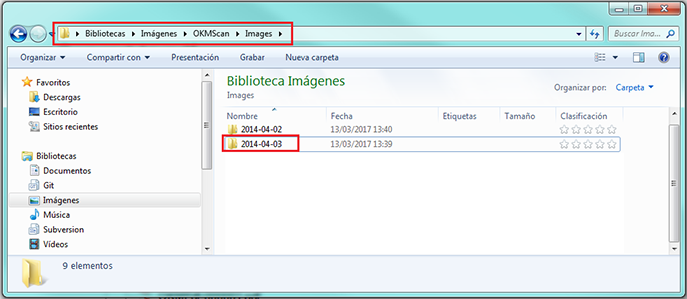
The images will be saved into a folder structure based on the current date (year-month-day) into your server at My images/OKMScan/Images path**.**
Convert to PDF
Section titled “Convert to PDF”Select one or more image files from the tree.
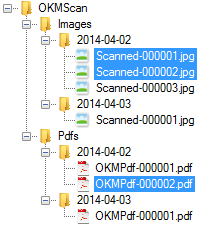
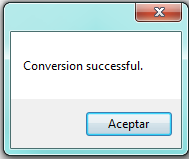
Click on the toolbar button to convert all selected images to PDF. When the conversion is finished, a message like this one will appear:
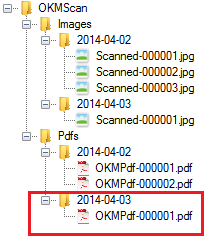
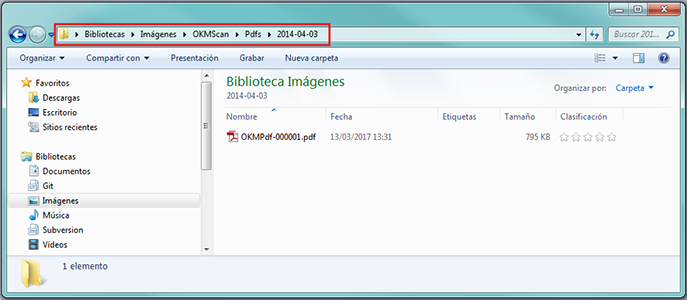
The PDF file will be created in a folder structure based on the current date (year-month-day) on your server at My images/OKMScan/Pdfs path**.**
Uploading
Section titled “Uploading”Select one or more files (images or PDFs) and click the button to upload the document.
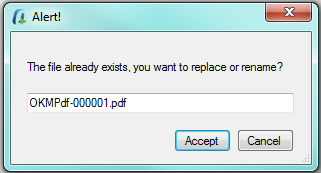
If the application detects that a file already exists in OpenKM, it will ask you to either accept updating the version or rename it.
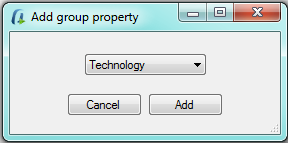
The application can ask you to add metadata groups to uploaded documents.
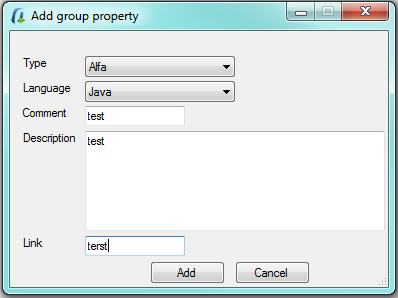
If you want to set a metadata group, click the Add button and follow the wizard.
In the end, a popup is shown indicating that the documents have been successfully uploaded.
Download from OpenKM
Section titled “Download from OpenKM”- Click the button to download the document from OpenKM.
- Select one or more files from the explorer form and press the “Select” button.
- The files will be downloaded into directories generated according to the date and classified as images or PDFs.
Add images to existing PDF files
Section titled “Add images to existing PDF files”You can add images to existing PDF files. To do this, click Add page to PDF toolbar icon.
Some extra icons will be shown to help you with this action:
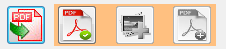
Adding images into a PDF file has three steps:
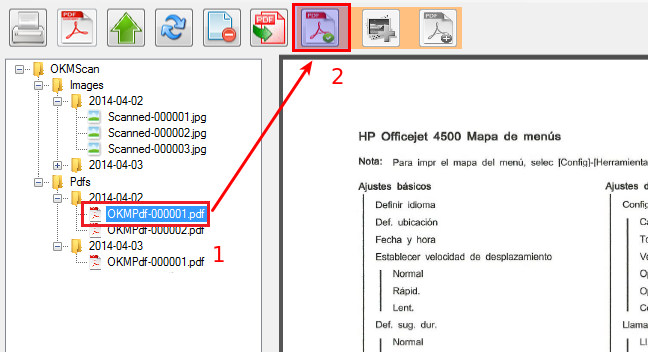
- First, select a PDF file and then click the icon
 to confirm PDF selection.
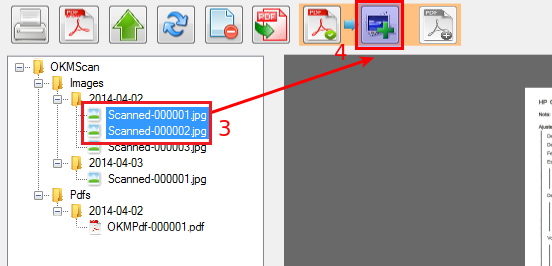
- The second step is to select one or more images and click the icon
 to confirm image selection.
- Finally, click the icon
 to add images. A popup will be shown to confirm the action.
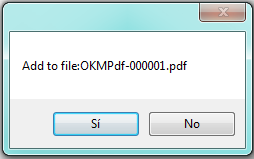
A popup confirming that the operation has been completed will be shown.
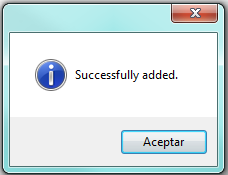
Remove pages from existing PDF files
Section titled “Remove pages from existing PDF files”You can remove pages from existing PDF files. To do this, click the toolbar option Delete page from the PDF. A popup will be shown indicating which page or range of pages you want to delete.
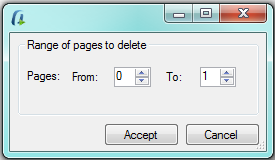
Click the Accept button and the pages will be removed from the PDF.
Compression CCITT Group4
Section titled “Compression CCITT Group4”To enable compression, select the Configuration / Compression group4 menu option to show the configuration popup.
The available configuration parameters are:
- Enable black and white CCITT Group4 compression
- Percentage (Threshold)
- Force fit to A4 format
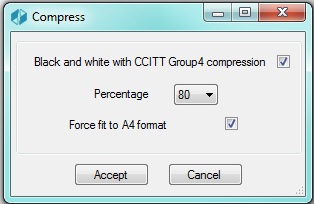
To accept changes to the configuration parameters, click the Accept button.