Eclipse tips
Debug Tomcat
Section titled “Debug Tomcat”You can debug your OpenKM installation using the Tomcat logging facility. This is useful when you have problems with your configuration. The default OpenKM installation logs important events such as errors and warnings. It is possible to change this configuration by editing the file $TOMCAT_HOME/conf/logging.properties.
The default Tomcat log configuration can generate a lot of messages. These files are stored in $TOMCAT_HOME/logs.
Debug remote Tomcat server
Section titled “Debug remote Tomcat server”Add the following options when the JVM is started:
-Xdebug -Xrunjdwp:transport=dt_socket,address=8000,server=y,suspend=nOr, if you are using shell scripts to start Tomcat, start it with the following command (recommended):
$ $TOMCAT_HOME/bin/catalina.sh jpda startIt will start Tomcat so that a remote debugger can connect to port 8000.
Eclipse configuration
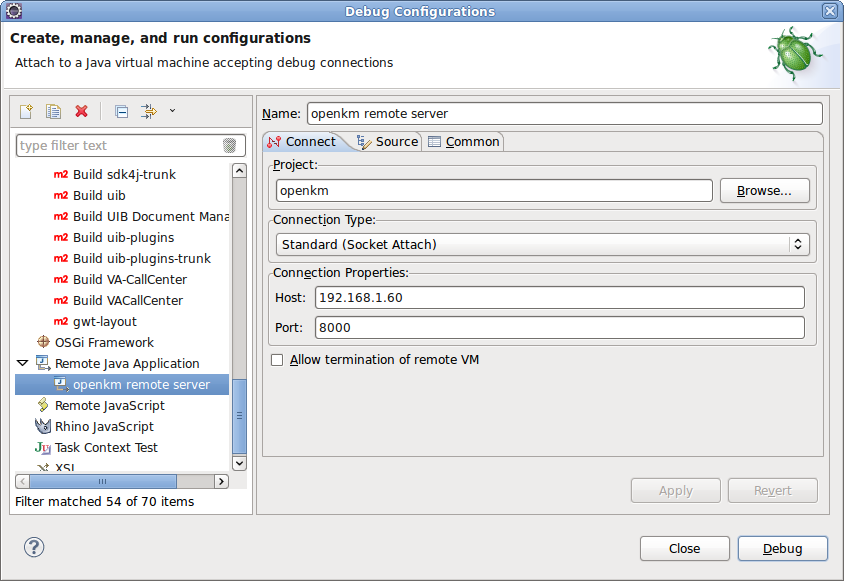
Section titled “Eclipse configuration”Open Eclipse “Debug configurations”, then choose “Remote Java Application”, right-click and choose “New”.
Set the “host” and “port” of the remote server:
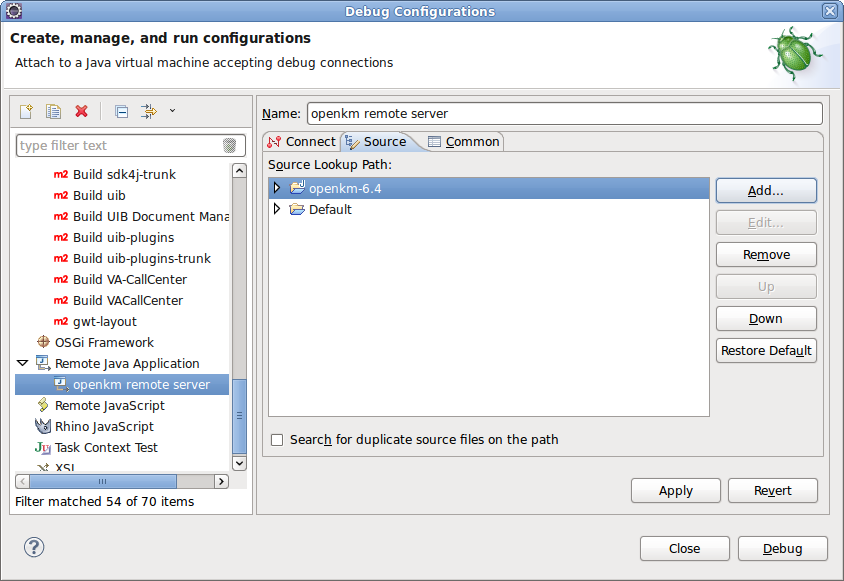
Include your OpenKM Java project in the Source tab:
You can debug normally by setting breakpoints, etc.
Debug GWT frontend user interface with GWT Super Dev Mode
Section titled “Debug GWT frontend user interface with GWT Super Dev Mode”Enable source for debugging
Section titled “Enable source for debugging”Edit the pom.xml file and uncomment this section:
<!-- Only for development --><dependency> <groupId>com.google.gwt</groupId> <artifactId>gwt-dev</artifactId> <version>${gwt.version}</version> <scope>provided</scope></dependency>Uncomment the xsiframe section in the Main.gwt.xml file:
<!-- Use GWT 2.7.0 to debug in Firefox --> <add-linker name="xsiframe"/> <set-configuration-property name='xsiframe.failIfScriptTag' value='FALSE'/> <set-configuration-property name="devModeUrlWhitelistRegexp" value="http://(localhost|127\.0\.0\.1|192\.168\.1\.34)(:\d+)?/.*" />Eclipse configuration
Section titled “Eclipse configuration”Open Eclipse “Debug configurations”, then choose “Java Application”, right-click and choose “New”.
Set the Main class field value:
com.google.gwt.dev.DevMode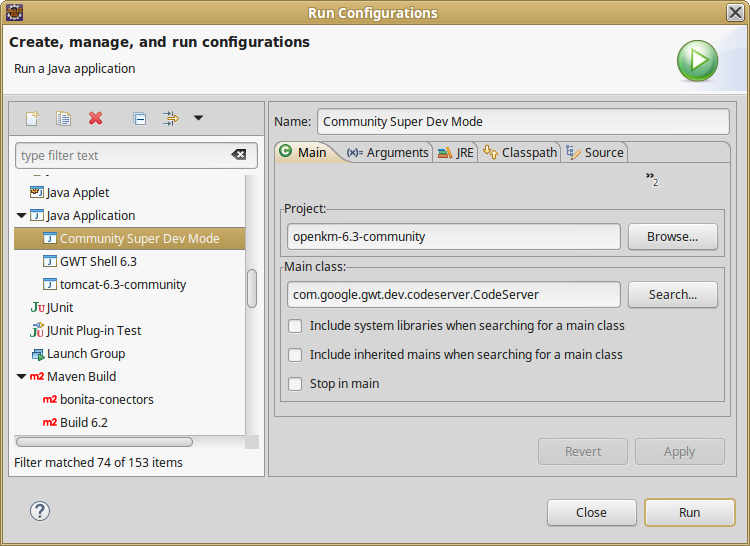
Select the “Arguments” tab and set the “program arguments” field value:
-bindAddress 0.0.0.0 -src src/ com.openkm.frontend.MainAnd set the “VM arguments” field value:
-Xms2048m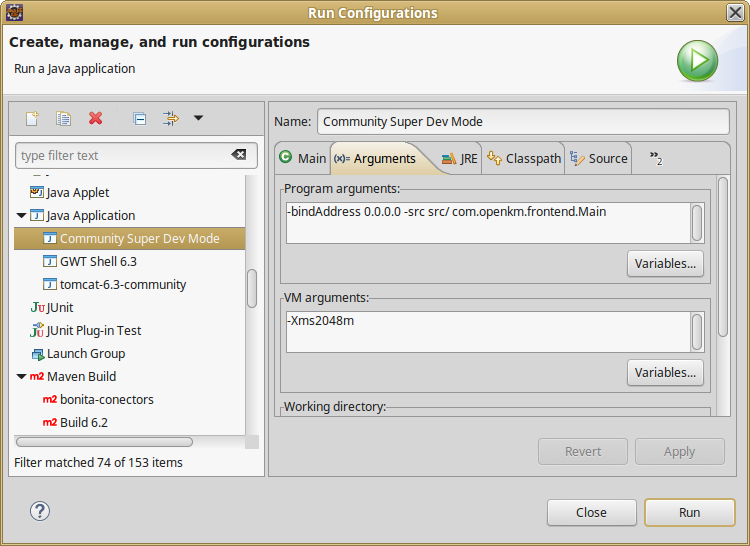
Select the “JRE” tab and set the “OpenJDK version”:
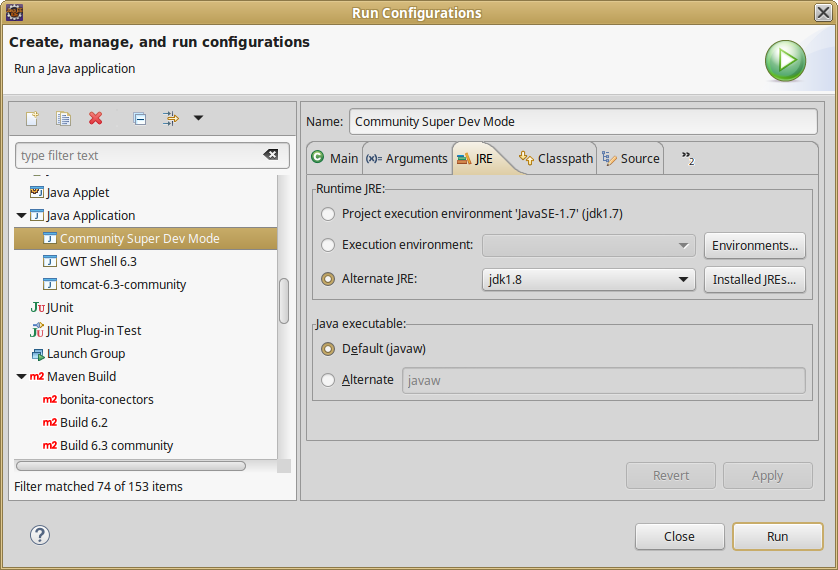
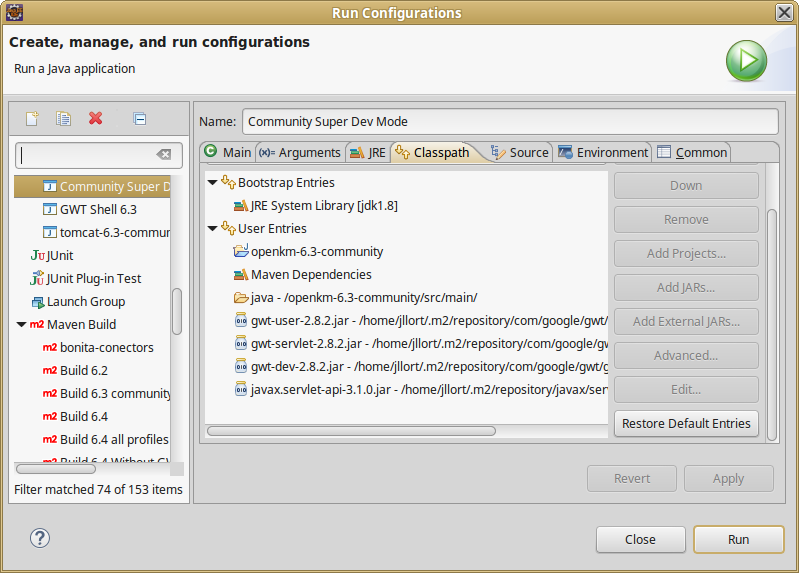
Select the “Classpath” tab and add the folder /openkm/src/main (use the “Advanced” button and the “Add Folder” option):
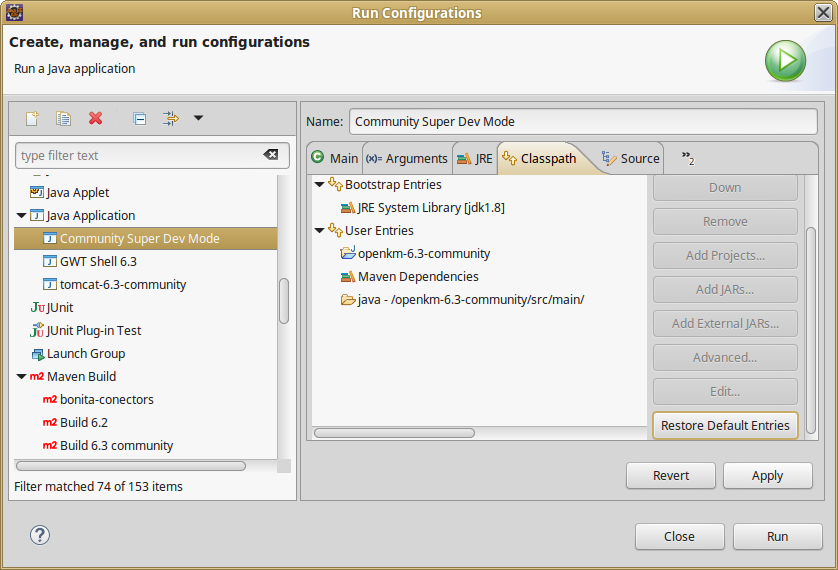
Add GWT JAR dependencies with the Add External JARs button:
- gwt-user-2.8.2.jar
- gwt-dev-2.8.2.jar
- gwt-user-2.8.2.jar
- javax.servlet-api-3.1.0
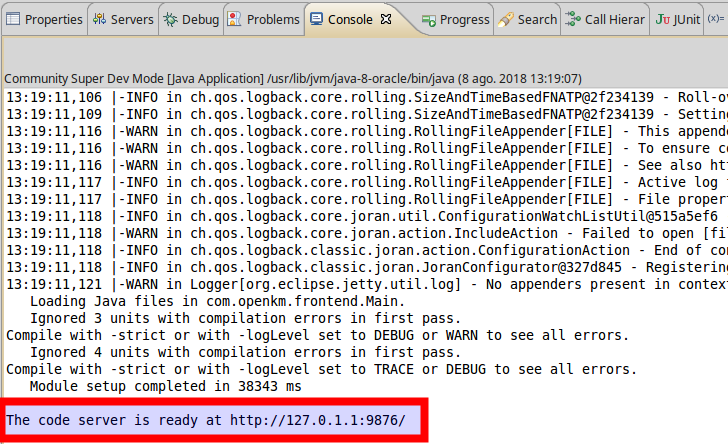
Now you can run the Super Dev Mode. At the end of the log, the URL where the service is bound is shown:
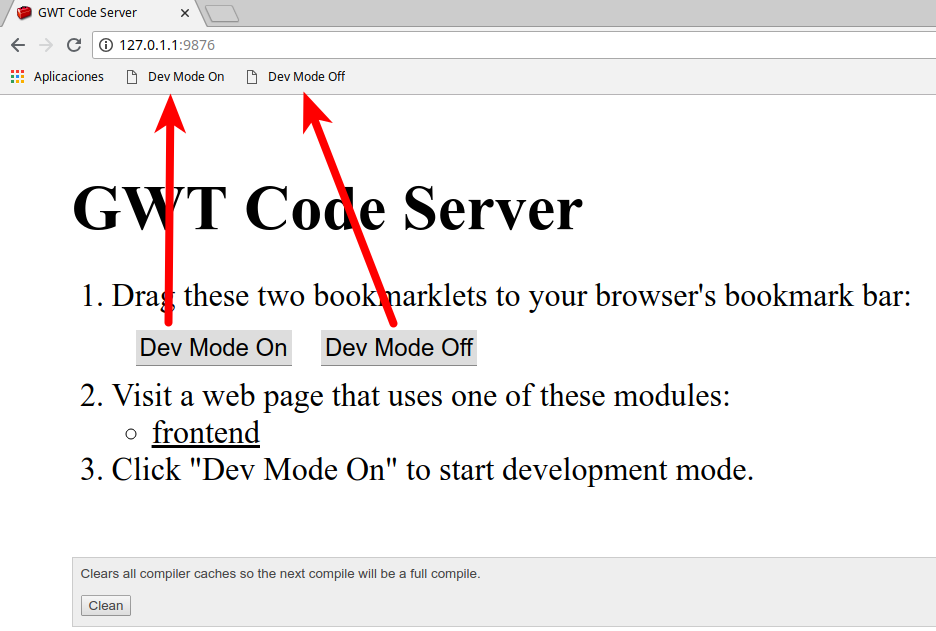
Open the code server URL in your Chrome browser and drag the bookmarklets to your bookmarks bar:
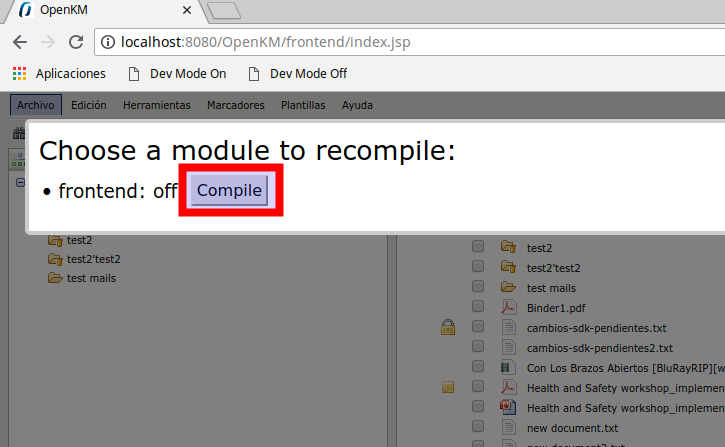
Open your OpenKM frontend URL in Chrome browser and then click the option in your bookmark bar “Dev Mode On” you dragged in the previous step. It will show a popup with a Compile button. Click the “Compile” button.
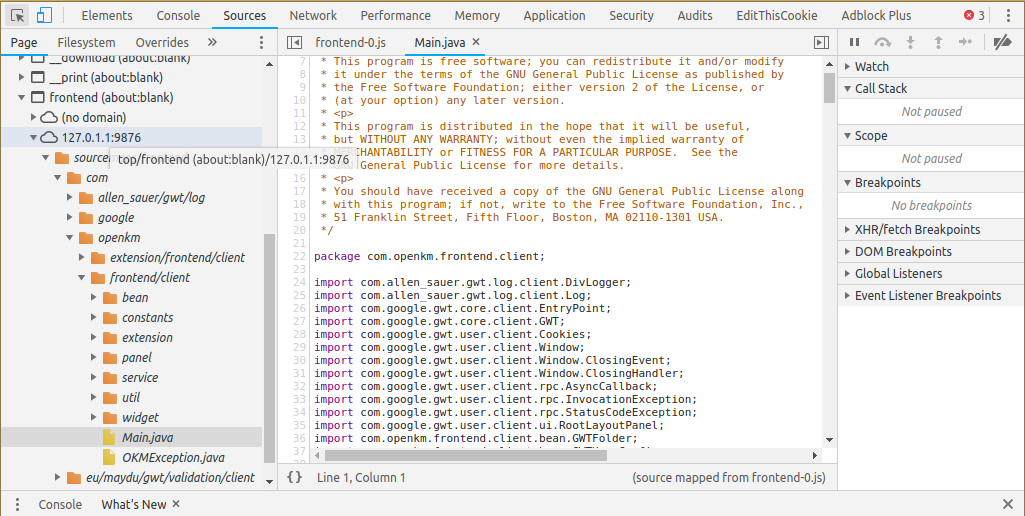
Finally, open the Chrome developer tools, and from the sources tab you will have the OpenKM Java code available, where you can set breakpoints, watch variables, etc:
Debug GWT frontend user interface with GWT Shell
Section titled “Debug GWT frontend user interface with GWT Shell”Enable source for debugging
Section titled “Enable source for debugging”Edit the pom.xml file and uncomment this section:
<!-- Only for development --><dependency> <groupId>com.google.gwt</groupId> <artifactId>gwt-dev</artifactId> <version>${gwt.version}</version> <scope>provided</scope></dependency>Eclipse configuration
Section titled “Eclipse configuration”Open Eclipse “Debug configurations”, then choose “Java Application”, right-click and choose “New”.
Set the Main class field value:
com.google.gwt.dev.DevMode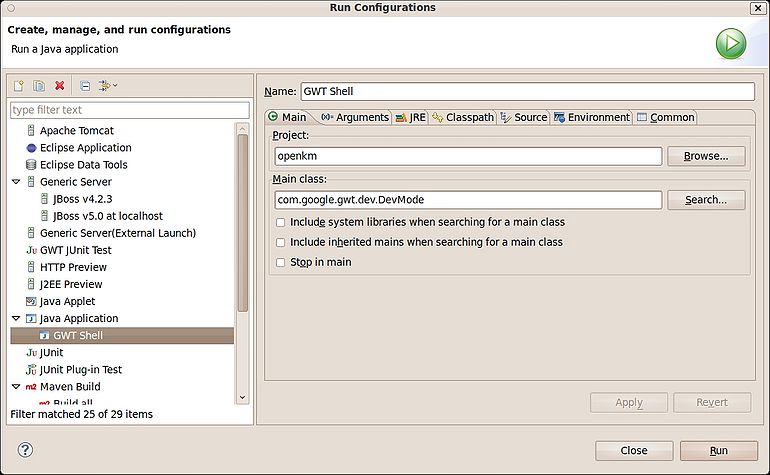
Select the “Arguments” tab and set the “program arguments” field value:
-port 8080 -noserver -startupUrl /OpenKM/frontend/index.jsp com.openkm.frontend.MainAnd set the “VM arguments” field value:
-Xms1024m -Xmx2048M -XX:PermSize=64m -XX:MaxPermSize=1024m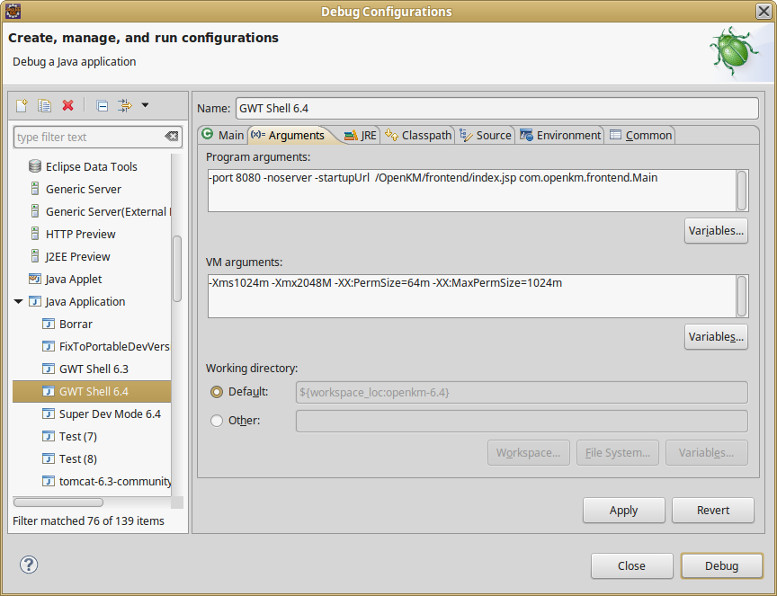
Select the “JRE” tab and set the “OpenJDK version”:
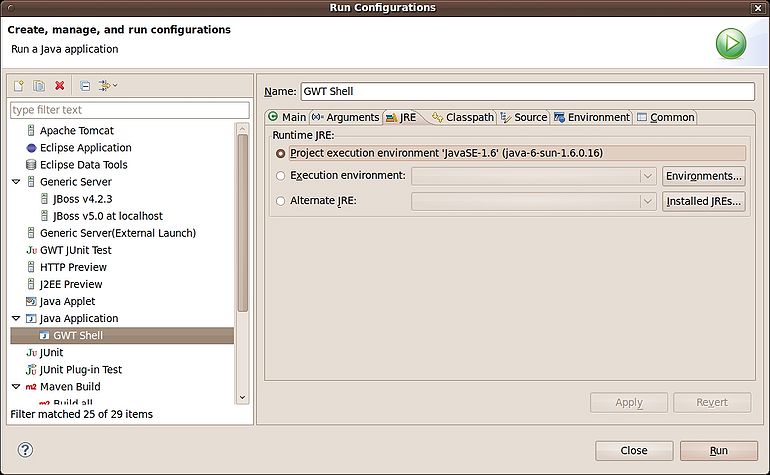
Select the “Classpath” tab and add the folder /openkm/src/main (use the “Advanced” button and the “Add Folder” option):
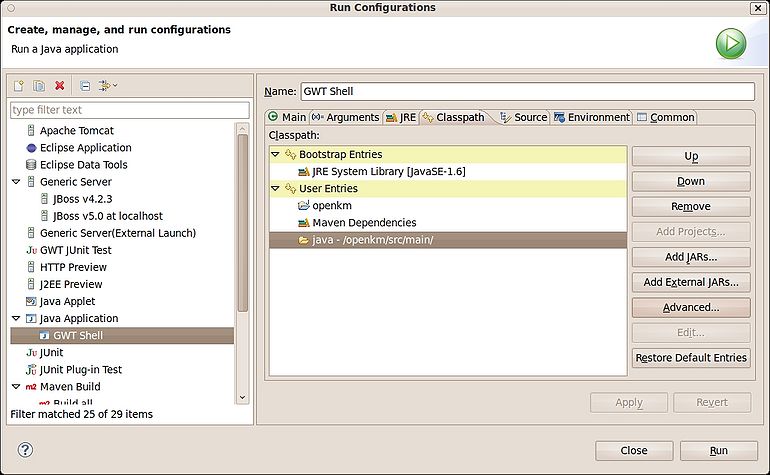
Now you can run the GWT Shell.
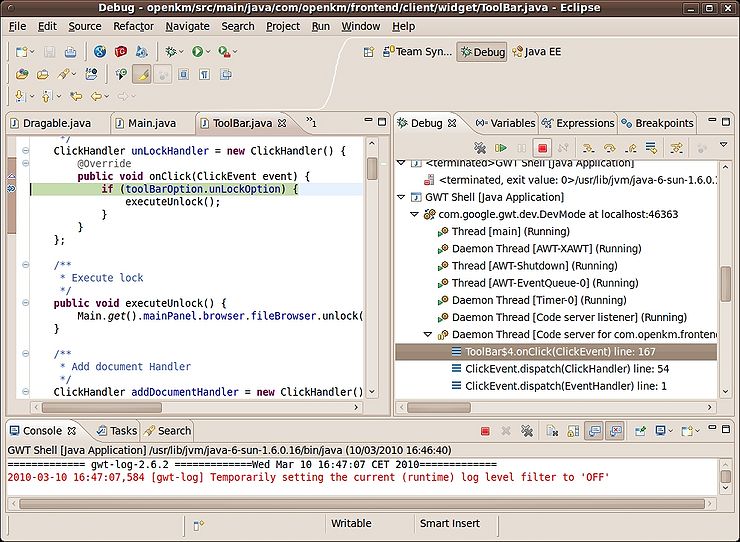
To debug login, enter the following in your browser:
http://localhost:8080/OpenKM/frontend/index?gwt.codesvr=127.0.1.1:9997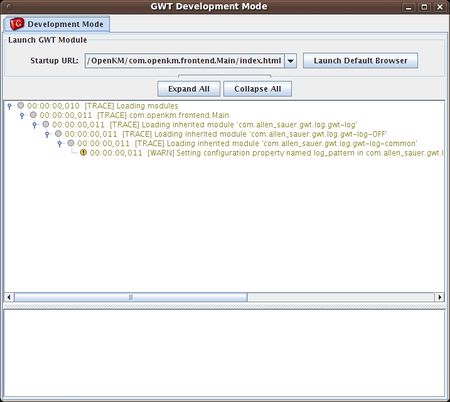 |
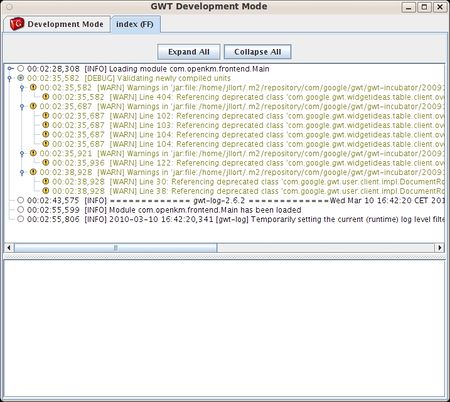 |
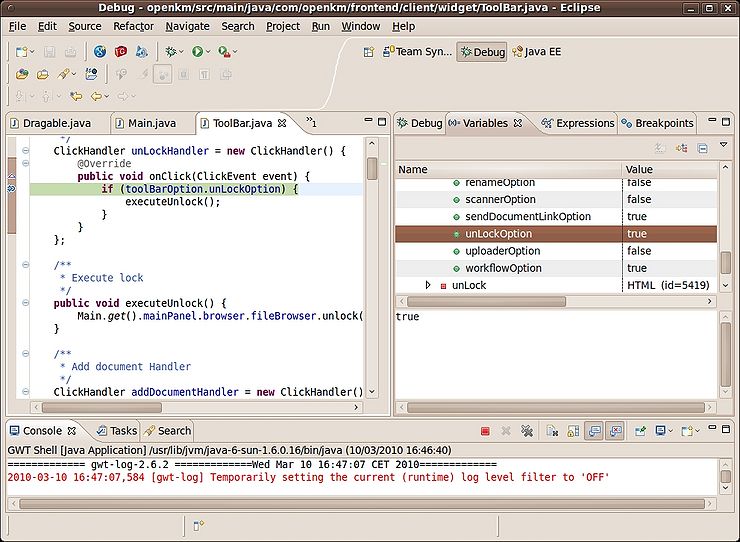
You can debug in Eclipse, view variable values, etc.