Introducción a los informes basados en SQL
- Instale la herramienta iReport.
- Ejecute la herramienta iReport.
Crear un origen de datos (datasource)
Sección titulada «Crear un origen de datos (datasource)»- Haga clic en el botón Report datasources.

- Haga clic en el botón New.
- Elija la opción “Database JDBC connection”.
- Haga clic en el botón Next.
- Establezca el nombre.
- Elija el driver JDBC.
- Haga clic en el botón Test para comprobar los parámetros de conexión.
- Haga clic en el botón Save.
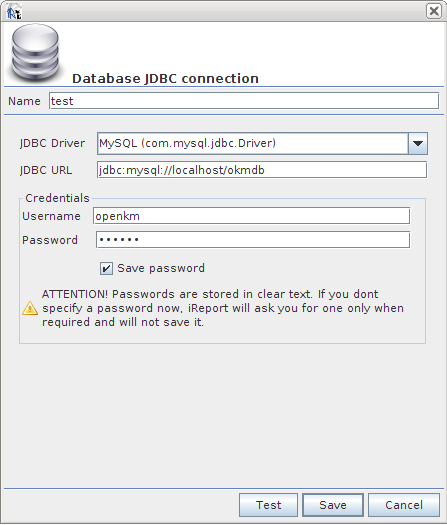
- Marque la casilla Default.
- Haga clic en el botón Close.
Probar el informe SQL de ejemplo
Sección titulada «Probar el informe SQL de ejemplo»- Descargue el archivo SQLReportPattern.jrxml.
- Abra el archivo.
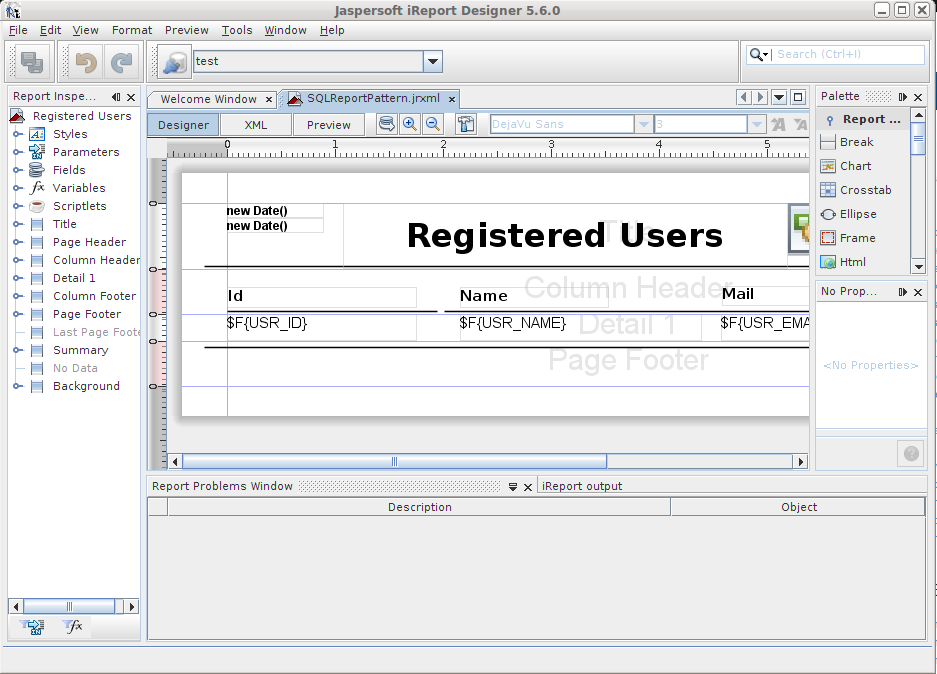
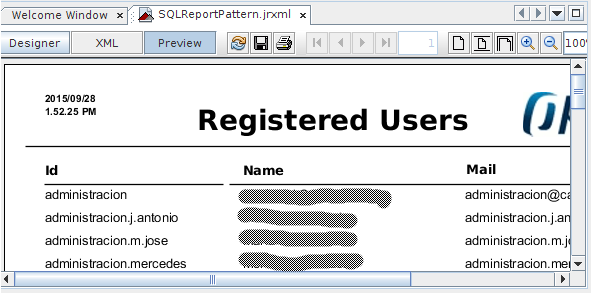
- Haga clic en la pestaña Preview.
- Establezca el valor de host (por ejemplo http://localhost:8080/OpenKM).
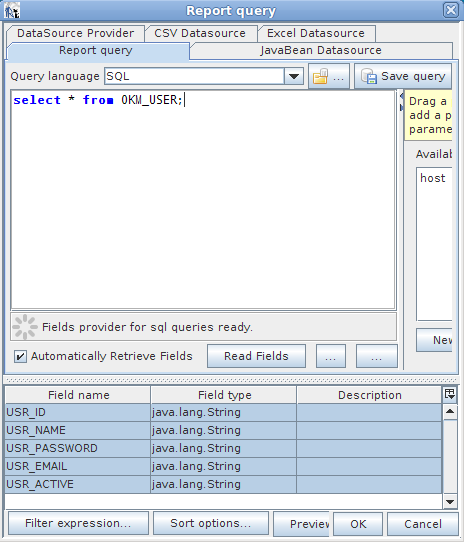
- Haga clic en la pestaña Designer.
- Haga clic en el
 botón report query.
Un vistazo más de cerca al archivo JRXML
Sección titulada «Un vistazo más de cerca al archivo JRXML»La herramienta iReport crea por usted el archivo de informe de Jasper en formato XML.
Sección de consulta
Sección titulada «Sección de consulta»<queryString> <![CDATA[select * from OKM_USER;]]></queryString>Sección de campos
Sección titulada «Sección de campos»<field name="USR_ID" class="java.lang.String"/><field name="USR_NAME" class="java.lang.String"/><field name="USR_PASSWORD" class="java.lang.String"/><field name="USR_EMAIL" class="java.lang.String"/><field name="USR_ACTIVE" class="java.lang.String"/>Sección de imagen remota
Sección titulada «Sección de imagen remota»<imageExpression><![CDATA[$P{host}+"/logo/report"]]></imageExpression>Utilizar campos en el informe
Sección titulada «Utilizar campos en el informe»<textField isBlankWhenNull="false"> <reportElement key="textField" x="329" y="0" width="206" height="18" uuid="5e3e2df8-a99b-4ce2-aab9-9adb97bc4dc9"/> <textElement> <font fontName="Arial"/> </textElement> <textFieldExpression><![CDATA[$F{USR_EMAIL}]]></textFieldExpression></textField>