Creating a JAR file with Eclipse
- Choose the Java file from Project Explorer or the Navigator view.
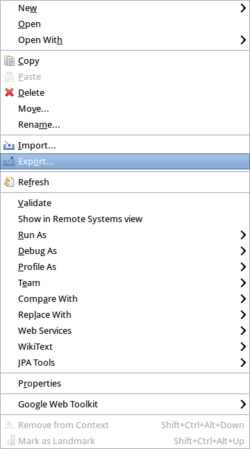
- Right click (to show the contextual menu) and choose “export”.
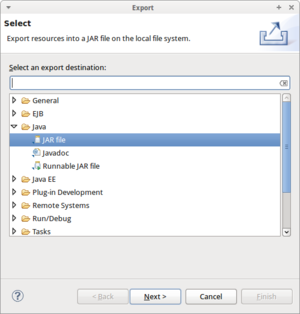
- Choose Java -> JAR file.
- Select the destination folder, for example C:\openkm-dev\jar\your-class.jar.
- Click Next.
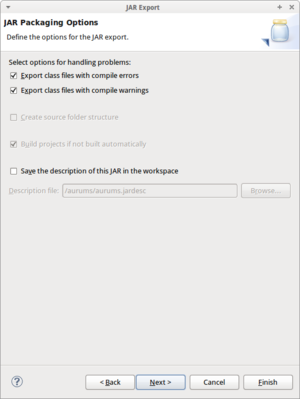
- Click Next.
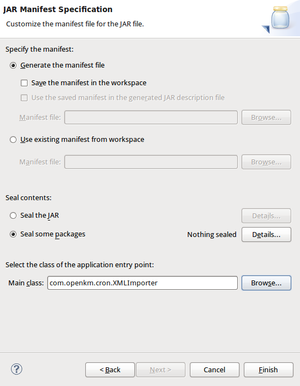
- Optional step. If your java class implements “public static void main(String[] args)” then you must choose your java class as the class of the entry point.
- Click Finish.
Images
Section titled “Images”Select the file to be exported as a jar. Right click with your mouse and select the “export” option.
Select the “.jar” file option and click on the “next” button.
Select the “JAVA classes to be included” in the jar file and click on the “next” button.
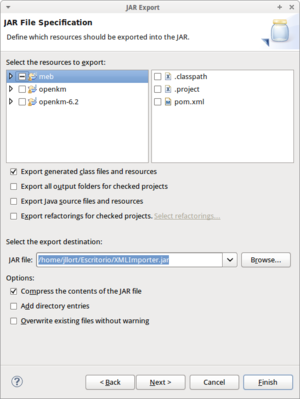
Click on the “next” button.
Select the “Main class” and click on the “Finish” button.