Introducing to reports based on SQL
- Install the iReport tool.
- Execute the iReport tool.
Create a data source
Section titled “Create a data source”- Click on the Report data sources button.

- Click on the New button.
- Choose the “Database JDBC connection” option.
- Click on the Next button.
- Set the name.
- Choose the JDBC driver.
- Click on the Test button to check the connection parameters.
- Click on the Save button.
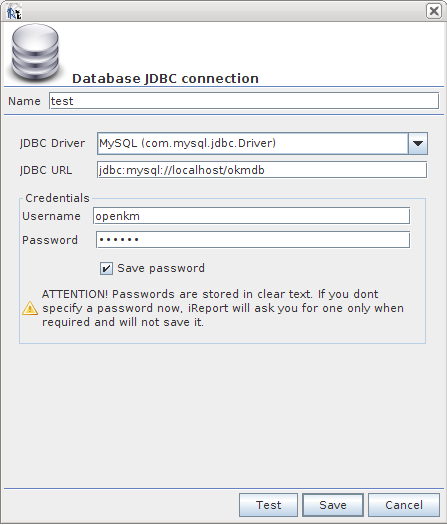
- Check the Set as default checkbox.
- Click on the Close button.
Testing the SQL sample report
Section titled “Testing the SQL sample report”- Download the SQLReportPattern.jrxml file.
- Open the file.
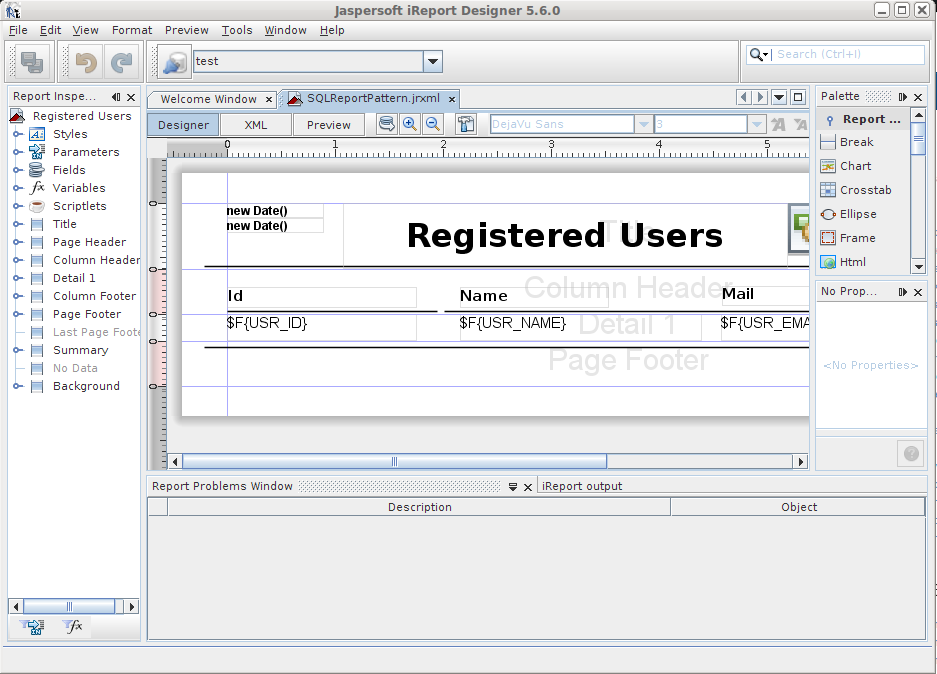
- Click on the Preview tab.
- Set the host value (for example http://localhost:8080/openkm).
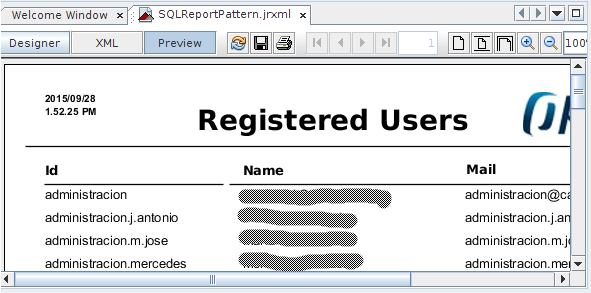
- Click on the Designer tab.
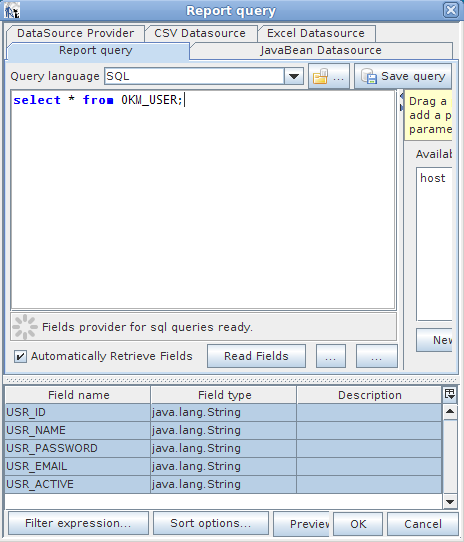
- Click on
 the Report query button.
A closer look at the JRXML file
Section titled “A closer look at the JRXML file”The iReport tool creates the Jasper report file in XML format for you.
Query section
Section titled “Query section”<queryString> <![CDATA[select * from OKM_USER;]]></queryString>Fields section
Section titled “Fields section”<field name="USR_ID" class="java.lang.String"/><field name="USR_NAME" class="java.lang.String"/><field name="USR_PASSWORD" class="java.lang.String"/><field name="USR_EMAIL" class="java.lang.String"/><field name="USR_ACTIVE" class="java.lang.String"/>Remote image section
Section titled “Remote image section”<imageExpression><![CDATA[$P{host}+"/logo/report"]]></imageExpression>Using fields in report
Section titled “Using fields in report”<textField isBlankWhenNull="false"> <reportElement key="textField" x="329" y="0" width="206" height="18" uuid="5e3e2df8-a99b-4ce2-aab9-9adb97bc4dc9"/> <textElement> <font fontName="Arial"/> </textElement> <textFieldExpression><![CDATA[$F{USR_EMAIL}]]></textFieldExpression></textField>